

₹50,000 मेंVideo Editing Setupकैसे बनाएं?
₹50,000 में Video Editing Setup कैसे बनाएं 2026 | Complete Budget Guide Hindi Budget Guide · 2026 · Hindi ₹50,000 मेंVideo Editing Setupकैसे बनाएं? PC से लेकर monitor, microphone, और software तक — हर चीज़ की complete list। Beginners और YouTubers दोनों के लिए perfect। 📅 2026 Updated ⏱ 10 मिनट पढ़ें 🇮🇳 India Prices 🎯 Beginners के लिए शुरुआत क्या ₹50,000 में सच में editing setup बन सकता है? यह सवाल हर beginner YouTuber और video editor के मन में आता है। जब आप बड़े creators के setup देखते हैं — ₹2-3 लाख के PC, ₹50,000 के monitors — तो लगता है कि editing शुरू करना बहुत महंगा है। लेकिन सच यह है: ₹50,000 में एक solid, professional-quality editing setup बिल्कुल possible है। India में parts की कीमतें globally compare करें तो काफी competitive हैं। सही planning से आप 1080p editing smoothly कर सकते हैं, और basic 4K भी handle हो जाती है। इस guide में हमने हर component को carefully research किया है — India के current prices के हिसाब से। हर option में आपको budget और recommended choice दोनों मिलेंगे। “Setup कितना महंगा है — यह matter नहीं करता। Matter यह करता है कि आप उस setup से क्या बना रहे हो।” Budget Breakdown ₹50,000 कहाँ-कहाँ खर्च होंगे? पहले एक overview — फिर हर component को detail में समझेंगे। ⚙️ CPU + Motherboard ₹12,000 Ryzen 5 5600 combo 🧠 RAM ₹5,000 16GB DDR4 3200MHz 🖥️ GPU ₹12,000 GTX 1660 / RX 6600 💾 Storage ₹3,500 512GB NVMe SSD 📺 Monitor ₹8,000 24″ Full HD IPS 🎤 Mic + Audio ₹3,000 USB Condenser Mic 🖱️ Cabinet + PSU + Others ₹4,500 Cabinet, PSU, KB+Mouse 💻 Software FREE DaVinci Resolve Component Item Price (₹) CPU + Motherboard Ryzen 5 5600 + B450M ₹12,000 RAM 16GB DDR4 3200MHz (2×8GB) ₹5,000 GPU GTX 1660 Super 6GB ₹12,000 Storage 512GB NVMe SSD + 1TB HDD ₹3,500 Monitor 24″ FHD IPS Panel ₹8,000 Mic USB Condenser Mic ₹2,000 Cabinet + PSU Mid Tower + 600W PSU ₹3,500 KB + Mouse + Others Basic Combo Set ₹1,000 🏆 Total Budget ~₹47,000 ✅ ₹3,000 का buffer बचाकर रखें — assembly, thermal paste, या future upgrade के लिए। Software (DaVinci Resolve) पूरी तरह FREE है। Component 01 ⚙️ CPU — प्रोसेसर Editing का दिल — सही CPU से rendering fast होती है Video editing में CPU सबसे important component है। यह timeline playback, export speed, और effects rendering — सब handle करता है। Budget में Ryzen 5 series best value देती है। Intel vs AMD की बात करें — AMD Ryzen इस budget में ज्यादा cores देता है। ज्यादा cores = faster export। Ryzen 5 5500 ~₹9,000 6 Cores / 12 Threads 3.6GHz Base | 4.2GHz Boost B450 Motherboard के साथ Budget pick — good value Best Value Ryzen 5 5600 ~₹12,000 6 Cores / 12 Threads 3.7GHz Base | 4.6GHz Boost B450/B550 Motherboard Highly recommended choice 💡 Pro Tip: CPU+Motherboard combo खरीदें — अलग-अलग खरीदने से ₹500-1,000 ज्यादा लगते हैं। Local shops पर combo deals मिलती हैं। Component 02 🧠 RAM — मेमोरी जितनी ज्यादा RAM — उतना smooth editing experience Video editing में RAM बहुत crucial है। DaVinci Resolve और After Effects दोनों RAM-hungry हैं। 16GB minimum है, 32GB ideal। लेकिन budget में 16GB से शुरू करें और बाद में upgrade करें। DDR4 3200MHz speed ले — यह Ryzen CPUs के साथ best performance देती है। Single stick की बजाय 2×8GB dual channel configuration लें। Recommended 16GB DDR4 (2×8GB) ~₹3,500–5,000 Kingston Fury / Corsair Vengeance 3200MHz speed Dual Channel — more performance Upgrade to 32GB later 8GB DDR4 (1×8GB) ~₹2,000 बहुत tight budget के लिए Laggy experience आएगा जल्द upgrade जरूरी Not recommended for editing ⚠️ 8GB RAM avoid करें — After Effects तो बिल्कुल चलेगा नहीं। DaVinci Resolve भी बहुत slow होगा। 16GB minimum है। Component 03 🖥️ GPU — Graphics Card DaVinci Resolve के लिए सबसे जरूरी component अगर आप DaVinci Resolve use करते हैं — GPU सबसे important component है। Color grading, effects, और GPU-accelerated rendering सब GPU पर depend करता है। Minimum 4GB VRAM चाहिए, 6GB+ better। NVIDIA cards CUDA support की वजह से After Effects में better perform करते हैं। AMD cards DaVinci Resolve में भी अच्छा करते हैं। Best Pick GTX 1660 Super ~₹10,000–12,000 6GB GDDR6 VRAM CUDA support — AE & DaVinci 1080p editing — very smooth Used market में ₹7,000–9,000 AMD RX 6600 ~₹11,000–13,000 8GB GDDR6 VRAM DaVinci Resolve में excellent After Effects में limited ज्यादा VRAM — future proof 🔥 Budget Tip: Used/second-hand GPU market check करें। GTX 1660 Super used में ₹7,000–8,000 में मिलती है — same performance, less price। ✓ NVIDIA क्यों? CUDA — After Effects support DaVinci Resolve में fast Stable drivers Better software support ✗ क्या miss होगा? AMD से कम VRAM same price Ray tracing basic है Older architecture (GTX) Gaming में थोड़ा behind Component 04 💾 Storage — स्टोरेज Fast SSD से editing lag-free होती है Video files बहुत large होती हैं। HDD पर editing करने से software lag करता है, timeline jerky होती है। OS और software के लिए SSD जरूरी है। Media files HDD पर रख सकते हैं। Ideal setup: 512GB NVMe SSD (OS + software + active projects) + 1TB HDD (old footage archive)। Recommended 512GB NVMe SSD ~₹2,500 Kingston NV2 / WD Blue SN570 2,400 MB/s read speed OS + Software + Projects M.2 slot में install होती है 1TB HDD (Additional) ~₹2,000–2,500 Seagate Barracuda 7200RPM Old footage archive Rendered files storage Long-term storage के लिए Component 05 📺 Monitor — स्क्रीन Color accurate monitor से editing professional बनती है Video editing के लिए monitor में IPS panel जरूरी है — accurate colors और wide viewing angles। TN panels में color shift होता है जो editing में problem करता है। सबसे important: sRGB color coverage 90%+ होना चाहिए। Resolution 1920×1080 (Full HD) minimum — 2K बेहतर रहती है अगर budget allow करे। Best Value LG 24MP60G / AOC 24B2XH ₹7,000–9,000 24″ Full HD (1920×1080) IPS Panel — accurate colors 75Hz refresh rate sRGB 99%
Kling 3 vs Runway Gen-4.5 (2026): कौन सा AI Video Tool वाकई Viral Shorts और Cinematic B-Roll के लिए Best है?
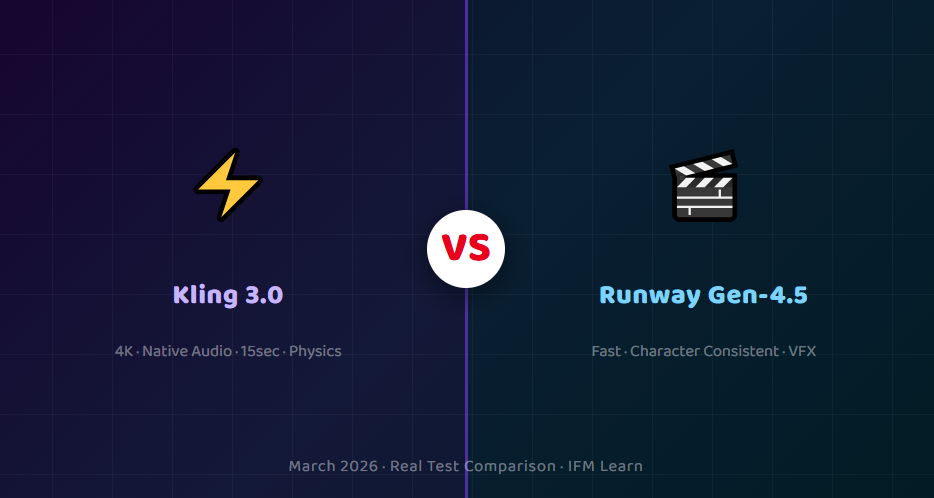
Kling 3 vs Runway Gen-4.5 2026: कौन सा AI Video Tool Best है? | IFM Learn 🔥 IFM Learn Blog · AI Tools · March 2026 IFM Learn ← सभी Articles 🤖 AI Video Tools · Comparison Kling 3 vs Runway Gen-4.5 (2026): कौन सा AI Video Tool वाकई Viral Shorts और Cinematic B-Roll के लिए Best है? IFM IFM Learn Team 25 मार्च 2026 · AI Tools ⏱ 8 min read ⚡ Kling 3.0 4K · Native Audio · 15sec · Physics VS 🎬 Runway Gen-4.5 Fast · Character Consistent · VFX March 2026 · Real Test Comparison · IFM Learn 2026 में AI video creation अब सिर्फ experiment नहीं रहा — यह रोज़ का काम बन चुका है। हर YouTube creator, freelancer, और brand अब AI से video बना रहा है। और इस वक्त दो tools सबसे ज़्यादा चर्चा में हैं: Kling 3.0 और Runway Gen-4.5। दोनों बेहद powerful हैं — लेकिन दोनों अलग-अलग काम के लिए बने हैं। इस article में हमने दोनों को real workflow में test किया और बताया कि आपके लिए — Shorts creator, B-roll filmmaker, या brand marketer — कौन सा सही है। “गलत tool choose करना मतलब घंटों बर्बाद करना। सही tool मतलब एक दिन में पूरी week का content।” 🔍 पहले जानो: दोनों Tools क्या हैं? ⚡ Kling 3.0 Kling को Kuaishou Technology ने बनाया है — वही company जिसने TikTok के competitor Kwai बनाया। Kling 3.0 आज image-to-video, lip-sync, spatial audio, और 4K/60fps generation में industry का सबसे strong tool है। एक generation में 6 camera cuts — यानी पूरी edited sequence AI खुद बनाता है। 🎬 Runway Gen-4.5 Runway 2018 से AI video का pioneer है। Super Bowl commercials, Hollywood indie films — सब जगह Runway का use होता है। Gen-4.5 में character consistency reference system, ultra-fast turbo mode, और VFX-style aesthetic है जो professional filmmakers को पसंद है। 💡 Key Insight Kling photorealism के लिए बना है — real-world physics, actual sound। Runway cinematic storytelling के लिए बना है — character consistency, creative style, speed। ⚔️ Feature-by-Feature Comparison Feature ⚡ Kling 3.0 🎬 Runway Gen-4.5 Max Resolution 4K Native / 60fps Best 1080p / 30fps Clip Length 15 seconds Longer Max 10 seconds Built-in Audio ✅ Lip-sync + Spatial Audio Best ✅ Text-to-Speech Generation Speed 3–6 minutes 30–90 seconds ⚡ Fastest Character Consistency ❌ हर generation अलग ✅ Gen-4 References Best Physics / Realism पानी, कपड़ा, बाल — photorealistic Best Smooth, AI-look Image-to-Video Industry best Best अच्छा, consistent Video-to-Video ❌ नहीं ✅ Act Two Feature Winner Multi-shot Storyboard ✅ एक prompt में 6 cuts Unique ❌ एक-एक clip Free Plan 66 credits/day (रोज़) Better One-time trial only Starting Price $6.99/month Cheaper $12/month 🔄 Viral Shorts बनाने का Step-by-Step Workflow अकेले एक tool use करना ठीक है — लेकिन दोनों को combine करना सबसे powerful strategy है। यह वो workflow है जो top AI creators March 2026 में follow कर रहे हैं: 🔄 Script → Kling → Runway → CapCut → Publish 5-Step Pro Workflow for Viral AI Shorts 2026 1 ✍️ Script लिखो — ChatGPT / Claude से 30-60 second script तैयार करो। पहले 3 seconds में hook डालो। हर scene के लिए visual prompt भी note करो — जैसे “धूप में एक महिला पहाड़ पर चल रही है, slow motion, cinematic।” 2 ⚡ Kling से B-roll और Action Shots बनाओ Product visuals, nature scenes, physics-heavy shots, lip-sync content — Kling के multi-shot storyboard से एक ही prompt में पूरी sequence मिलती है। Spatial audio automatically sync होता है। 3 🎬 Runway से Character Shots और Hero Moments लो Brand videos, consistent protagonist shots, VFX-style moments — Gen-4 References feature से एक character को हर scene में same रखो। Turbo mode से quickly iterate करो। 4 🎵 CapCut में Final Edit करो सारे clips import करो। Trending audio लगाओ, captions add करो, color grade करो, transitions smooth करो। 9:16 format में export करो Reels/Shorts के लिए। 5 🚀 Post करो और Analytics देखो YouTube Shorts, Instagram Reels, TikTok पर upload। देखो कौन सा AI clip ज़्यादा engage हुआ — अगले video में वो style ज़्यादा use करो। 💰 Pricing 2026 — कितना खर्च आएगा? Plan ⚡ Kling 3.0 🎬 Runway Gen-4.5 Free 66 Credits/Day (रोज़) Trial Credits (एक बार) Standard $6.99/month (~₹580) $12/month (~₹1,000) Pro $21.99/month (~₹1,830) $28/month (~₹2,330) Max / Unlimited $64.99/month $76/month 💡 Budget Tip अगर आप beginner हो — Kling का free plan use करो। रोज़ 66 credits मिलते हैं जो replenish होते हैं। इससे बिना पैसे खर्च किए रोज़ 1-2 videos बना सकते हो। Runway का free trial एक बार ही मिलता है। ✅❌ Pros और Cons ⚡ Kling 3.0 ✓ 4K/60fps native generation ✓ Built-in lip-sync + spatial audio ✓ 15 sec + multi-shot storyboard ✓ Photorealistic physics ✓ Image-to-video में best ✓ Free plan genuinely useful ✗ Generation slow: 3–6 minutes ✗ Character consistency नहीं ✗ Video-to-video नहीं है 🎬 Runway Gen-4.5 ✓ Ultra fast: 30–90 seconds ✓ Character consistency (Gen-4 Ref) ✓ Video-to-video (Act Two) ✓ Professional VFX aesthetic ✓ 30+ AI tools ecosystem ✓ Fast iteration / try & reject ✗ सिर्फ 1080p, 4K नहीं ✗ Max 10 seconds per clip ✗ Free plan बस एक बार 🎯 आपके लिए कौन सा सही है? Kling 3.0 choose करो अगर: आप daily YouTube Shorts या Reels बनाते हो, lip-sync / talking content चाहिए, 4K B-roll चाहिए, budget tight है, या image-to-video animate करना है। Runway Gen-4.5 choose करो अगर: Brand या client work है जहाँ एक character multiple scenes में चाहिए, VFX-style cinematic look चाहिए, fast iteration ज़रूरी है, या video-to-video transformation करनी है। सबसे powerful strategy: दोनों use करो — Kling से realistic shots, Runway से character-consistent scenes, CapCut में सब merge। 🏆 IFM Learn का Final Verdict कोई एक “best” नहीं है। Kling 3.0 wins in realism, audio, और resolution। Runway Gen-4.5 wins in speed, consistency, और creative style। दोनों को एक workflow में combine करना — यही 2026 का असली winning formula है। 🎓 After Effects और AI Tools Hindi में सीखो IFM Learn Academy पर complete
🎬 How to Animate News Articles in After Effects – Full Guide in Hindi (2025)
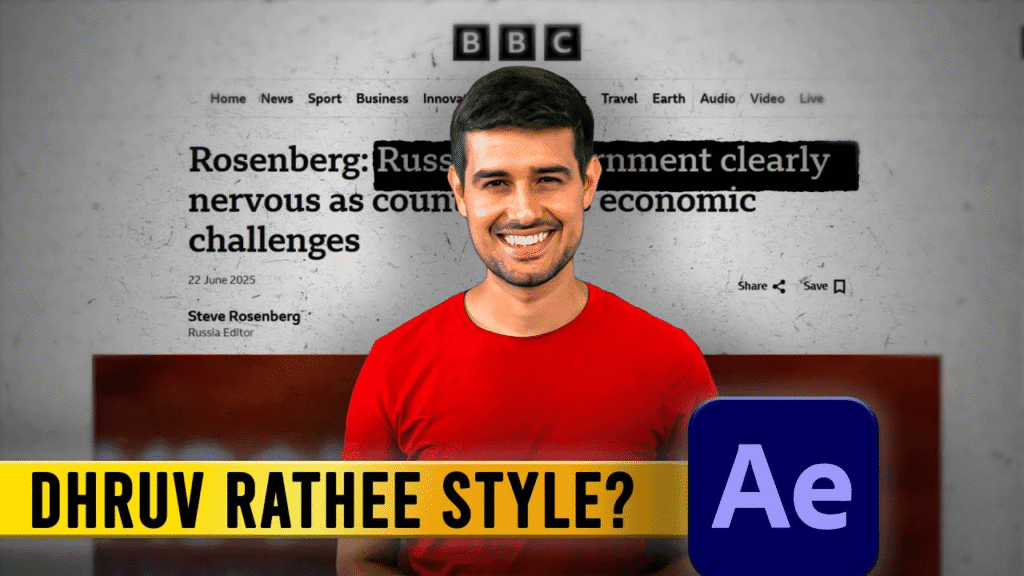
👋 Intro: नमस्कार दोस्तों! मैं हूं आशीष, और आज हम सीखेंगे कि After Effects में एक न्यूज़ आर्टिकल को कैसे प्रोफेशनली एनिमेट किया जाता है। अगर आप YouTube या Instagram के लिए वीडियो बनाते हैं और आपके वीडियो में जानकारी वाले टेक्स्ट या आर्टिकल आते हैं — तो ये ट्यूटोरियल आपके बहुत काम आने वाला है। 🛠️ क्या चाहिए होगा? 📚 Step-by-Step Tutorial (Hindi) 📸 Step 1: आर्टिकल का स्क्रीनशॉट लें Microsoft Edge ब्राउज़र से किसी भी न्यूज़ वेबसाइट का फुल पेज screenshot लें। Tip: Web Capture > Full Page > Save as PNG. 🎞️ Step 2: After Effects में Composition बनाएं 📂 Step 3: Screenshot को Import करें 🎨 Step 4: Texture Overlay लगाएं इससे आपके article को newspaper जैसा real look मिलेगा। 🎯 Step 5: Animation Setup ✏️ Step 6: Highlight Sections इससे आप किसी खास लाइन या पॉइंट को स्क्रीन पर उभार सकते हैं 🧪 Step 7: Final Touch 🎥 Watch Full Tutorial Here 👉 YouTube Video LinkSubscribe करें चैनल “Ashish Editing Tips” पर और Editing में Master बनें! 🔗 Internal Links – More From IndianFunMedia 📦 Download Project Files हम अगले वीडियो में इस प्रोजेक्ट की source files, overlays और textures provide करेंगे।Website और YouTube चैनल पर जुड़े रहें ताकि कुछ मिस न हो! 📣 Conclusion अगर आप चाहते हैं कि आपके वीडियो में डिजिटल न्यूज़पेपर या डॉक्यूमेंट स्टाइल का feel आए — तो ये तरीका आपके लिए परफेक्ट है। इस ट्यूटोरियल को फॉलो करके आप एक सिंपल आर्टिकल को प्रोफेशनल Motion Graphics में बदल सकते हैं — वो भी बिना किसी भारी भरकम plugin के।